

This Origami dripper recipe uses 15g coffee and 250g water for a sweet, balanced pour-over that works with conical or wave filters. It is a practical starting point if you want the dripper's fast flow, clean clarity, and flexible filter options without overcomplicating the brew.
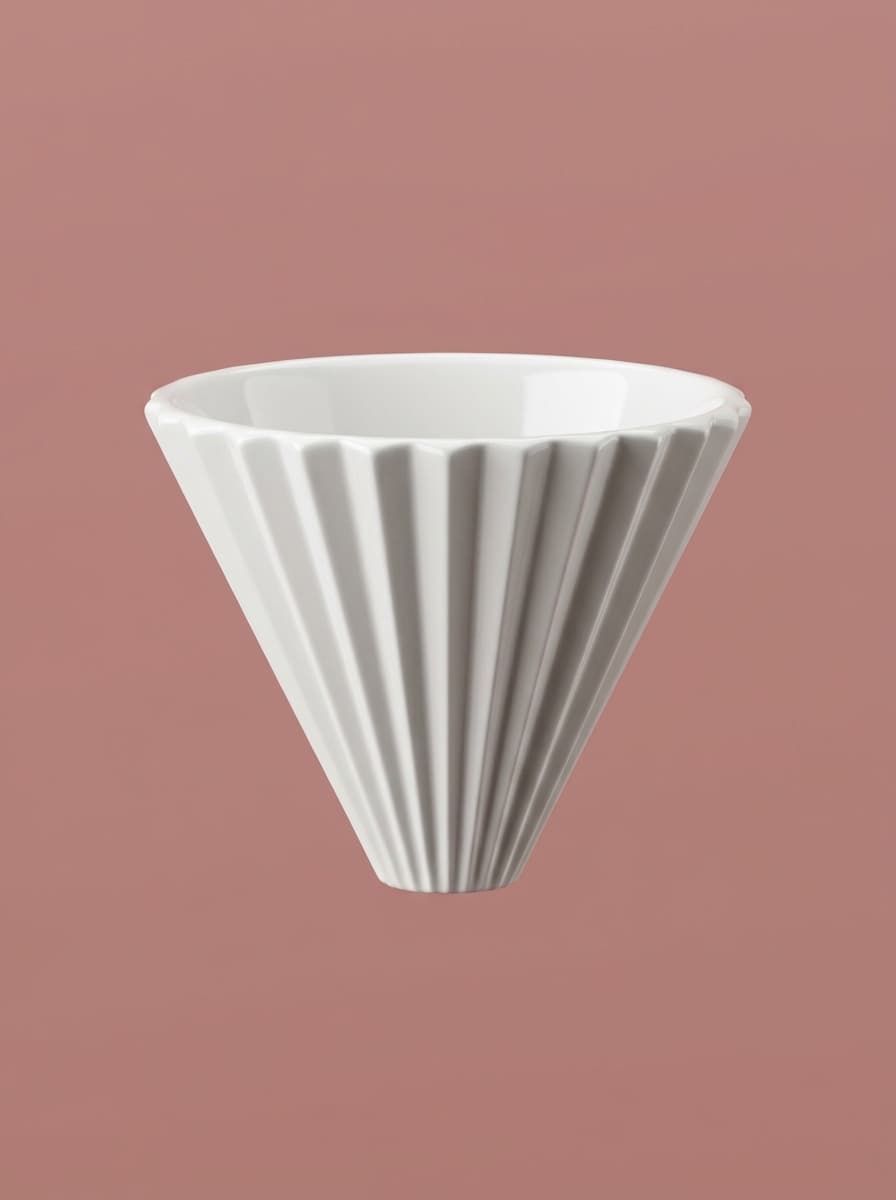
Named after the traditional Japanese art of paper folding, the Origami Dripper has a distinctive ribbed shape. Its 20 ribs create space between the paper and dripper wall, and it works with both cone and wave filters, according to the Origami manufacturer.
In this guide, we will explore the design of the Origami dripper and share a sweet, balanced recipe that takes advantage of its unique airflow.
What Makes the Origami Dripper Different?
The Origami is practical because its 20 ribs leave airflow around the filter rather than pressing the paper flat against the dripper wall. You can choose a conical filter for a deeper coffee bed or a wave filter for a shallower bed; both filter styles are compatible with the brewer. Origami’s filter guide explains that the filter shape changes bed depth and contact time, so use the filter you can repeat most easily before changing other variables.
Conical vs. Wave Filters: The Choice is Yours
One of the Origami's practical features is its compatibility with two different styles of paper filters:
- Conical Filters (e.g., Hario V60): These sit deeper in the brewer and create a deeper coffee bed.
- Wave Filters (e.g., Kalita Wave 155/185): These have a flatter base and create a shallower coffee bed.
This recipe works with both. Start with the filter you already know, then keep it consistent while you adjust the grind or pouring pattern.
Origami Recipe Overview
- Dose: 15g of coffee (medium-coarse grind)
- Water: 250g of water (93°C)
- Ratio: 1:16.6
- Brew Time: 2:30 to 3:00 minutes
Step-by-Step Brewing Guide
Step 1: Prep and Rinse
Insert your paper filter into the Origami dripper. Rinse thoroughly with hot water to warm up the ceramic body and wash away paper taste. Tare your scale.
Step 2: The Bloom (0:00 - 0:40)
Add 15g of ground coffee, create a flat bed, and tare. Start your timer and pour 45g of water. Give the dripper a gentle swirl to ensure all grounds are wet. Bloom for 40 seconds.
Step 3: First Pour (0:40 - 1:10)
At 0:40, pour 100g of water in slow, concentric circles. Start from the center and spiral outwards, avoiding the paper edge. This brings the scale to 145g.
Step 4: Second Pour (1:10 - 1:40)
At 1:10, pour another 60g of water, bringing the total weight to 205g.
Step 5: Final Pour (1:40 - 2:00)
At 1:40, add the final 45g of water in a steady center pour to maintain temperature, bringing the final weight to 250g. Swirl gently once.
Step 6: Drawdown
Let the water drain completely. Thanks to the air channels, the drawdown should finish quickly, wrapping up between 2:30 and 2:50.
Why Design Matters: Airflow and Heat
The ribbed shape keeps a gap between the paper and ceramic wall. Treat that as a flow characteristic to work with, not a reason to chase a faster brew: keep the recipe steady and adjust the grind one small step at a time when the cup tastes off.